This is an old revision of the document!
cPanel Plugin - LiteSpeed Cache For WordPress Management
Installation
The LiteSpeed Web Cache Manager plugin for cPanel can be easily installed using the LiteSpeed WHM Plugin as of v3.1.0.
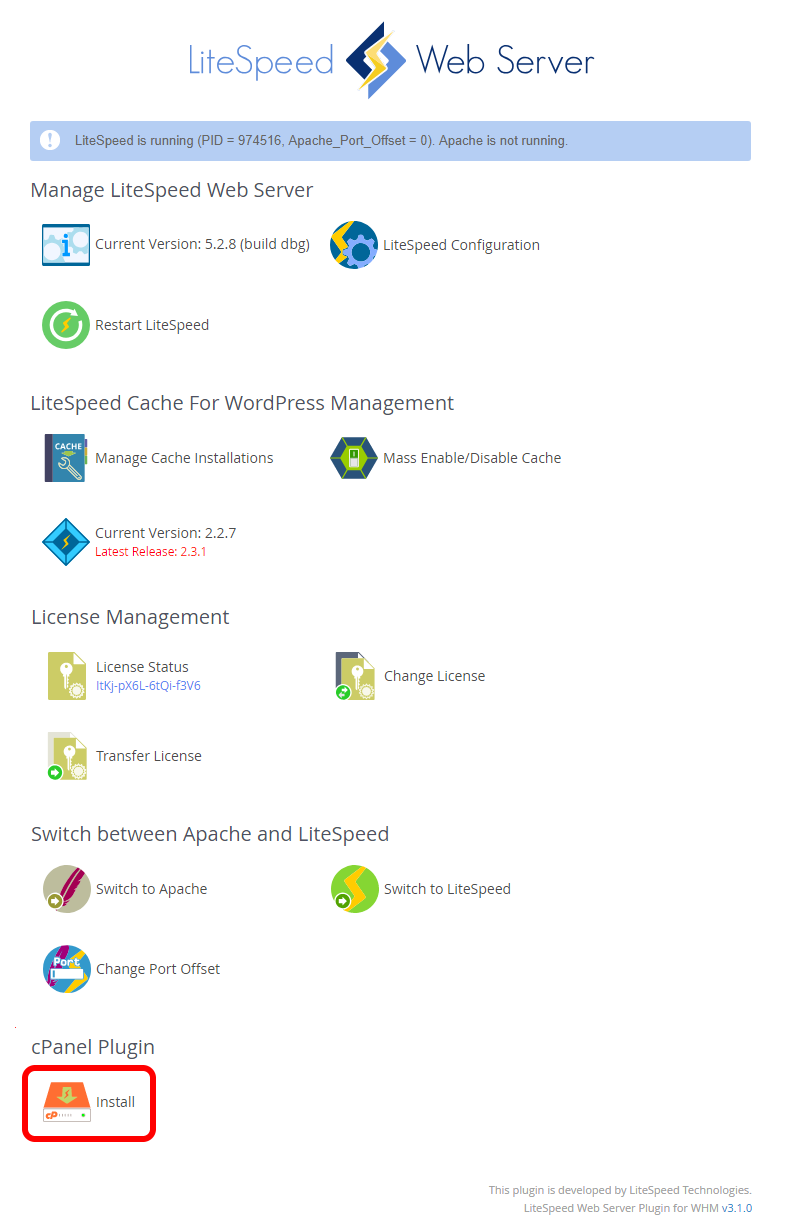
Once successfully installed, the cPanel Plugin section of the WHM plugin should change to the following:

Plugin Not Available To cPanel Users?
If the LiteSpeed Web Cache Manager plugin is not appearing for cPanel users after installing through the LiteSpeed WHM plugin, please try the following:
- Log in to WHM and navigate to the Feature List screen by selecting Packages » Feature Manager.
- From here you can add or remove user access to plugins by creating or editing feature lists.
- Create or edit the feature list you wish to modify.
- Click the checkbox labelled “LS Web Cache Manager” and then the save button. This will add or remove this plugin in your current feature list, which can then be assigned to a package if it has not been already.
This plugin should now appear in the Advanced section of the cPanel home screen for all users assigned this package.
![]()
If you do not see the LiteSpeed Web Cache Manager item in the advanced section of your cPanel home screen, please upgrade LiteSpeed Web Server to 5.1.x at the minimum.
You must have a license with LSCache enabled to use these features. How To Get LSCache
Note: If you would like to install the LiteSpeed Web Cache Manager plugin but do not have WHM access, please contact your server administrator or hosting provider.
Plugin Breakdown
Main Page
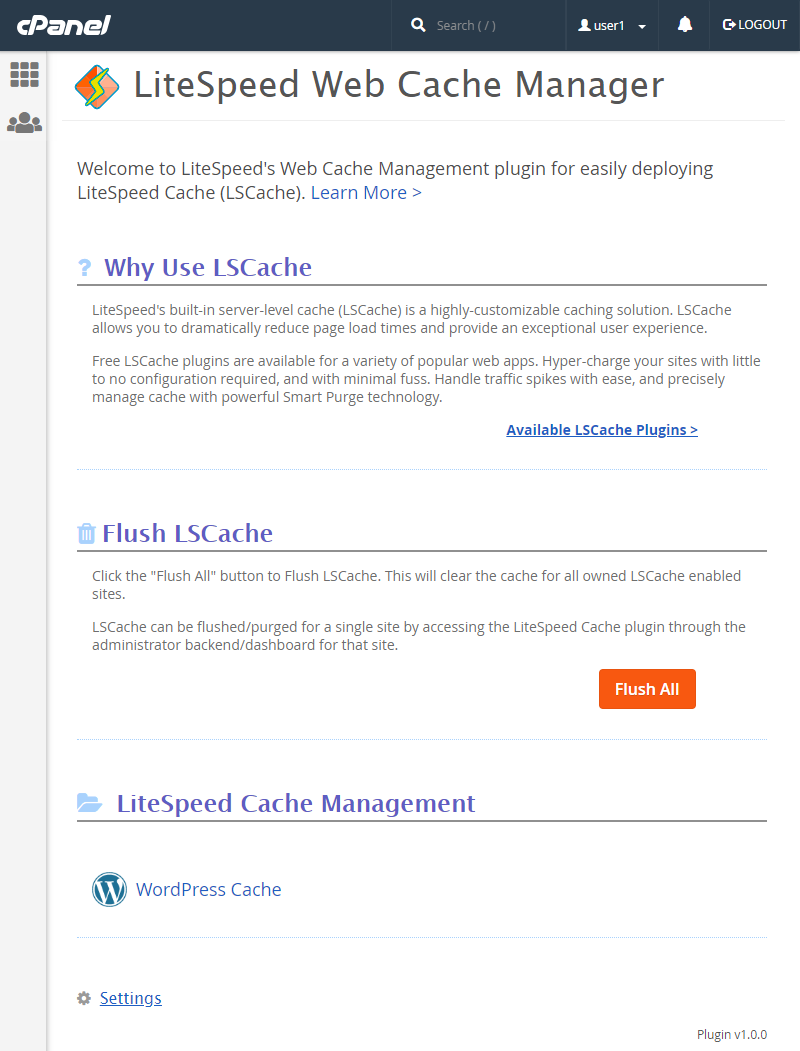
This is the first page seen when visiting the plugin page. Here you will be presented with some information in LSCache and the various available LSCache plugins through the Available LSCache Plugins link.
LiteSpeed Cache Management - WordPress Cache
Settings
The manage view is where most of the magic happens. Here you can manage LSCWP for your WordPress installations individually or in groups.
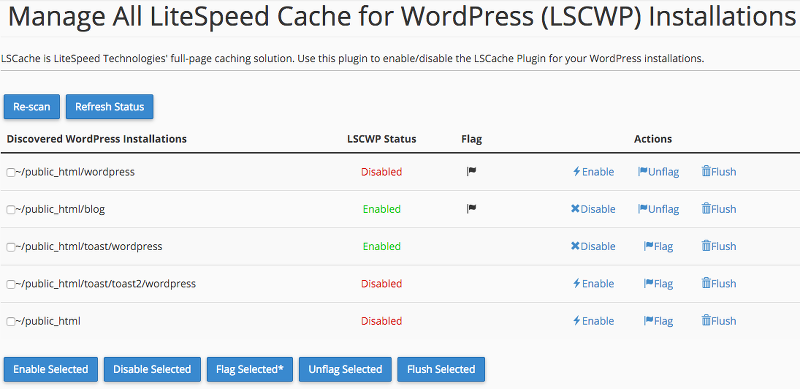
Starting from the actual table we have the following fields:
- Discovered WordPress Installations - This field will contain the path of each WordPress installation discovered during the last scan operation.
- LSCWP Status - Displays the last known status of LSCWP for the listed WordPress installation.
- Flag - This field can either be blank or display a flag icon. While an installation is flagged, displaying the flag icon, it will be excluded from all future Mass Enable/Disable operations.
- Actions - This field contains action buttons that perform a specific action only for the related WordPress installation. These actions include Enable/Disable LSCWP, Flag/Unflag this installation, and Flush which flushes the cache for this installation only.
Looking at the top row of buttons, we have Scan/Re-scan as well as Refresh Status.
- Scan/Re-scan - Discovers all WordPress installations under each cPanel users
public_htmlfolder. These discovered installations will then be saved to a data file and displayed in the manager screen. If this data file is removed or corrupted, simply scan again to repopulate the list.
- Refresh Status - Each listed WordPress installation will have an LSCWP Status of either “Enabled” or “Disabled” reflecting the status of LSCWP for that installation. The Refresh Status button will update this value to the most current status for all listed WordPress installations.
Moving on we have the the bottom row of buttons which are used to perform group operations. These buttons work in tandem with the check-boxes found next to each discovered installation to allow you to perform some basic operations for only the selected group.
- Enable Selected & Disable Selected - These buttons allow you to enable and disable LSCWP for the selected WordPress installations.
- Flag Selected & Unflag Selected - These buttons allow you to set or unset the flag field for the selected WordPress Installations. Flagged installations will be excluded from Mass Enable LSCWP and Mass Disable LSCWP operations.
- Flush Selected - This button allows you to flush the cache for the selected WordPress Installations.
Uninstallation
The LiteSpeed Web Cache Manager Plugin for cPanel can be easily uninstalled through the LiteSpeed WHM Plugin:
